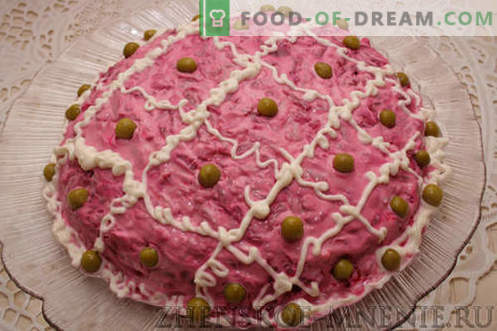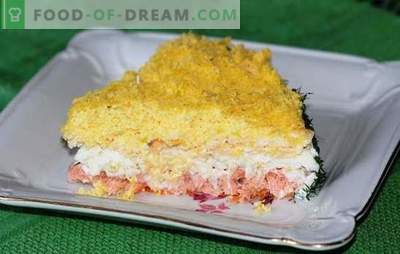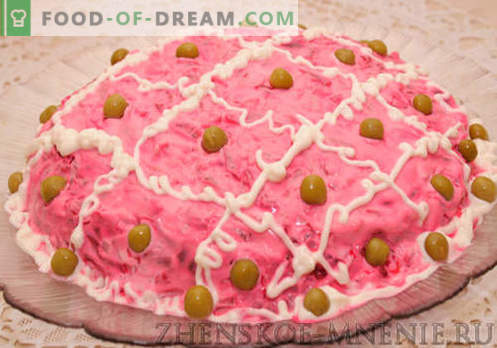
The salad dressing “Fur” came to us from distant Soviet times, then, at times of shortage, this dish was considered almost a luxury, but still every year the Soviet table was decorated with every Soviet family. Times are changing, but one thing remains unchanged - this is a traditional herring salad under a fur coat, as before decorating our festive tables.
The salad is very nutritious and tasty, besides, on the table it looks very colorful, with its colorfulness causing the guests' appetite. The taste of the salad depends not only on the ingredients used and the variety of fish, but also on the amount of mayonnaise added during the cooking process. Many people prefer to lubricate each layer with a dressing. As a result, the salad turns out to be more gentle and not so dry, but the main rule is not to overdo it otherwise from the excess of mayonnaise, the salad at the festive feast simply “floats”.
So, we present to your attention the recipe of cooking classic salad "coat", which is accompanied by detailed step by step photos.
In the photo: ingredients for the preparation of salad “Fur Coat”:
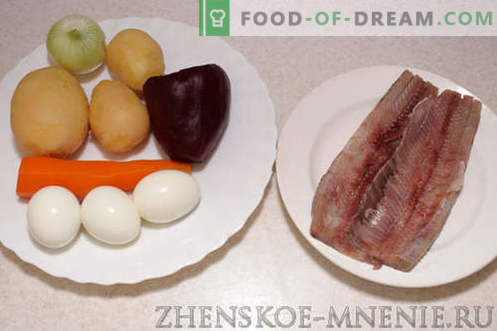
- Light-salted herring - 1 pc.
- Onion - 1 pc.
- Potatoes - 3 pcs.
- Carrots - 1 pc.
- Medium beet - 1 pc.
- Eggs - 3 pcs.
- Mayonnaise - 150 grams
Recipe for Fur Coat Salad (with photo):
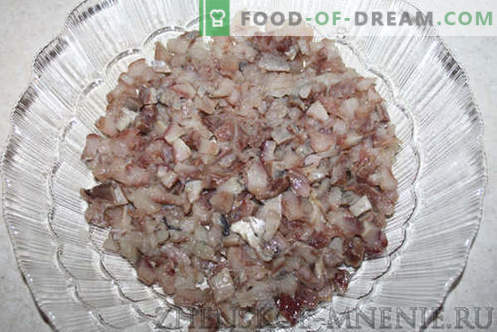
Prepare the vegetables for the salad - to do this, thoroughly wash (without peeling) the beets, carrots and potatoes, put in one pan, pour water and put on medium heat. Cooking time for beets and carrots is about 40-50 minutes, and potatoes should be obtained 20 minutes after boiling water. Cool vegetables, peel. In parallel with the vegetables, boil the eggs, and let cool until completely cooled. While the vegetables are being prepared, we will deal with the main ingredient - we clean the herring, release it from the viscera, head and tail, carefully remove the skin, remove the spine, divide it into two fillet pieces. Carefully we clean fish from large and small bones (for this purpose it is most convenient to use small tweezers). Cut the herring fillet into medium slices, spread on a flat dish - this will be the first layer of our salad.
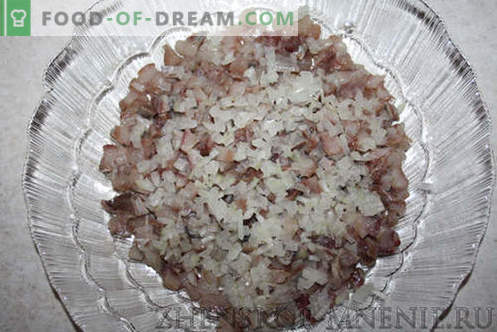
Peel the onion, chop it finely, spread it over the fish, level it. Top the herring with onions sprinkled with diluted vinegar to remove excess onion bitterness.
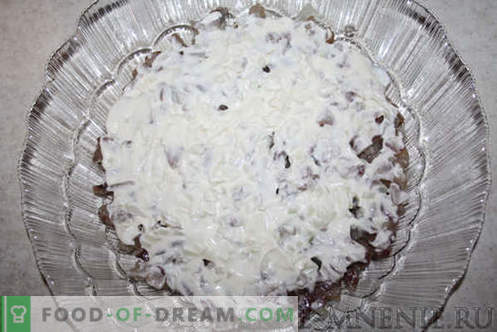
Coat this layer with mayonnaise.
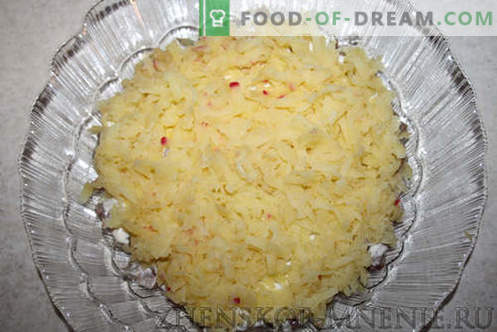
We take peeled boiled potatoes and rub them on a medium grater over a layer of herring with onions. Carefully level with a spoon. You can salt a little to taste, provided that the herring is taken weak salted.
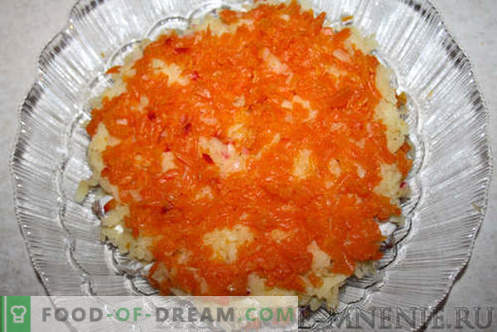
Next turn for boiled carrots, also rub it on a grater, on top of potatoes. We distribute, trying hard not to press the layers, so the salad will be more airy and tender.
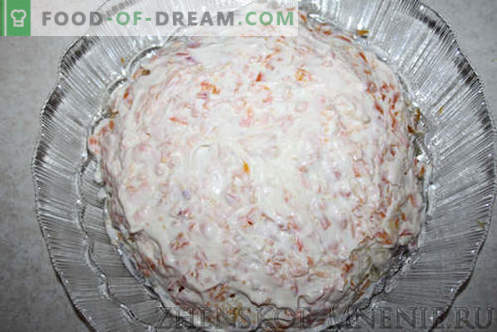
Lubricate the potato-carrot layer with a small amount of mayonnaise.
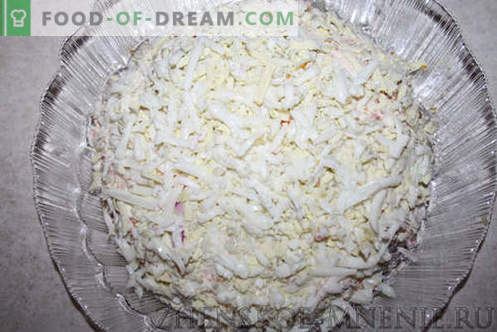
Grate the eggs on top of the next layer.
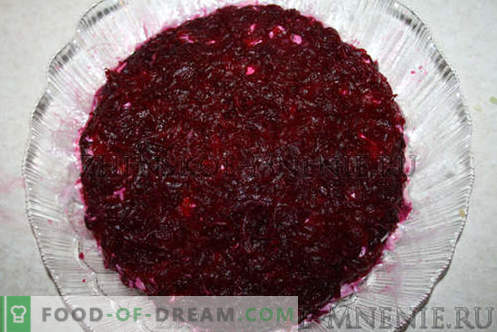
The final layer is beetroot, also rub it on a grate over the egg. Spread on the surface and sides of the salad, so that there are no bright places left.
We coat the top layer with mayonnaise and gently coat it. The salad is almost ready, it remains to insist on it for a couple of hours in the fridge so that it should be soaked in and acquired a richer taste.
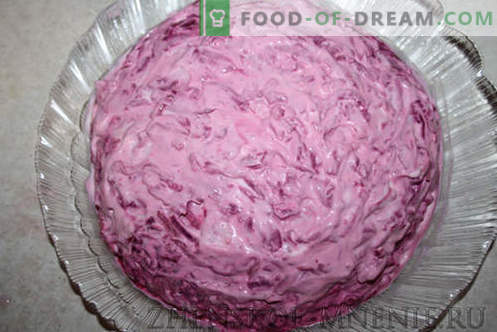
If you wish, you can decorate the finished salad. Serve cold.
