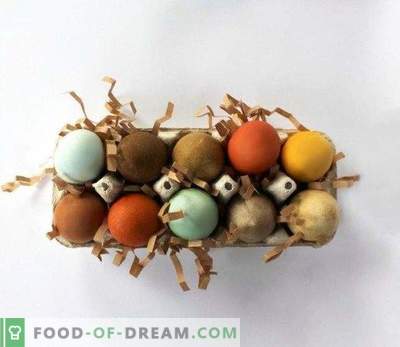
My grandmother kept an awesome saucepan deep in a barn with a special purpose - it was preparing a decoction of onion peel for painting eggs for Easter, and next to a canvas bag in which her grandmother had been collecting onion peel for a year. She despised food colors, treated them, as well as any innovations, with suspicion. Therefore, over how to paint eggs, did not think about it for a long time and did not waste time - put it in a pan with brown slurry and ready! In this article I will talk about more modern ways of painting eggs for Easter.
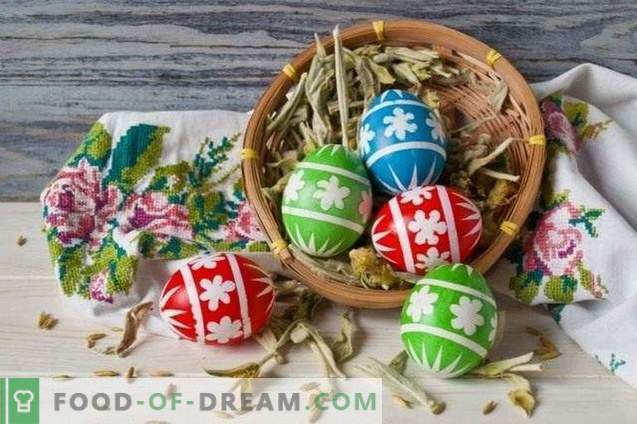
Gone are the saucepans with onion peel, the younger generation requires modern beauty on the Easter table. Beautiful Easter eggs are quite simple to make, but it will take some time. In the master class, I will tell you how to decorate Easter eggs with your own hands using self-adhesive film and food dyes.
I will note right away that the eggshell will be painted in a bright color, if you use high-quality dyes, which, alas, are not cheap. Sachets sold in abundance in the market, unfortunately, contain paint, which, at best, will give pastel colors.
- Cooking time: 1 hour 20 minutes
- Quantity: 10 pcs.
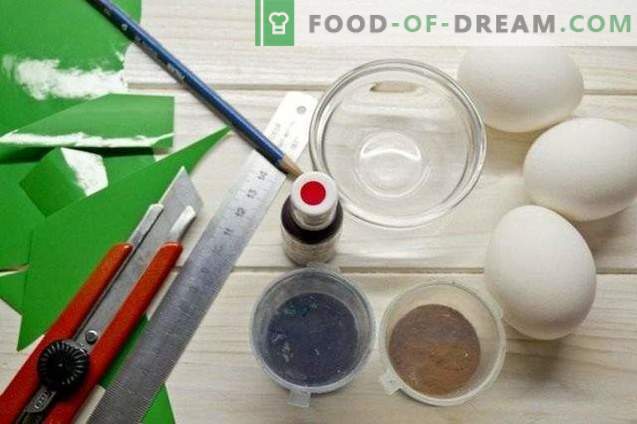
Ingredients for painting eggs for Easter
- a dozen white eggs;
- 20 g of 6% vinegar;
- scarlet, green and blue food coloring;
- a small piece of self-adhesive film;
- scissors, ruler, paper knife, pencil;
- vegetable oil.
Method of preparation
From a film we cut out jewelry. To begin with, we measure the lateral surface of the shell, in order to choose the size of the pattern - you cannot draw too large flowers, since the film is glued with folds.
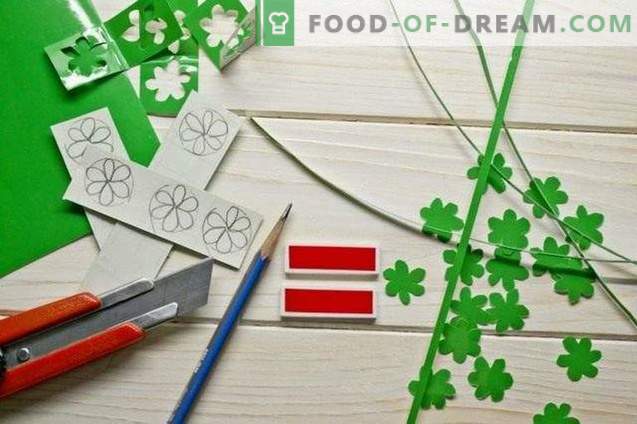
On the paper backing of the film with a pencil we mark the flowers (4 flowers per product), cut them out with a scissors along the contour, and also cut thin strips (approximately 2-3 millimeters thick).
Boil chicken eggs correctly. They should be at room temperature. Put in a saucepan, fill with cold water, as soon as the water boils, remove from heat, cover with a lid, leave for 11 minutes. Then cool in cold water and wipe dry.
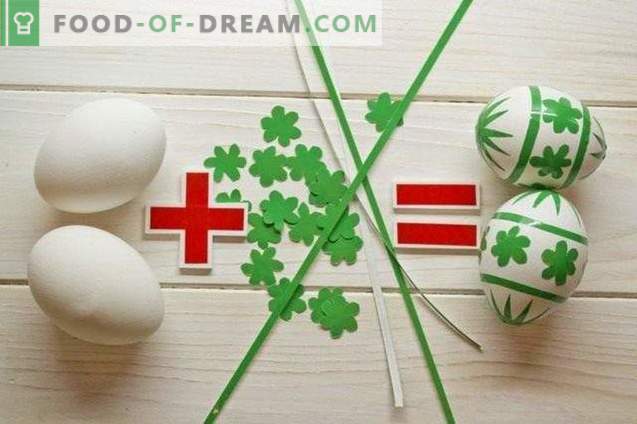
First we glue the flowers in the middle, then - the side stripes, glue the stars from the stripes with a blunt and sharp end.
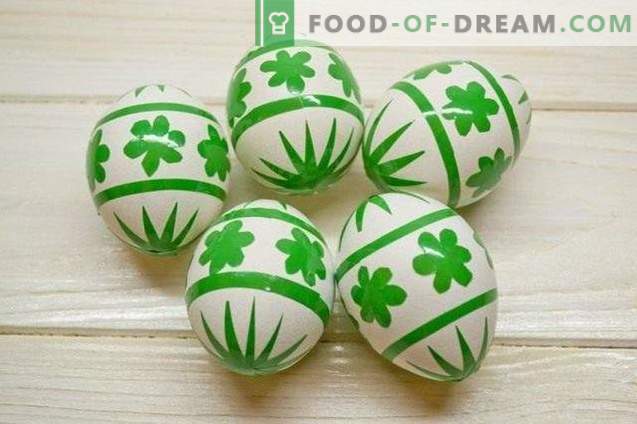
Before putting the dye in the solution, we well press the glued film to adhere tightly to the shell.
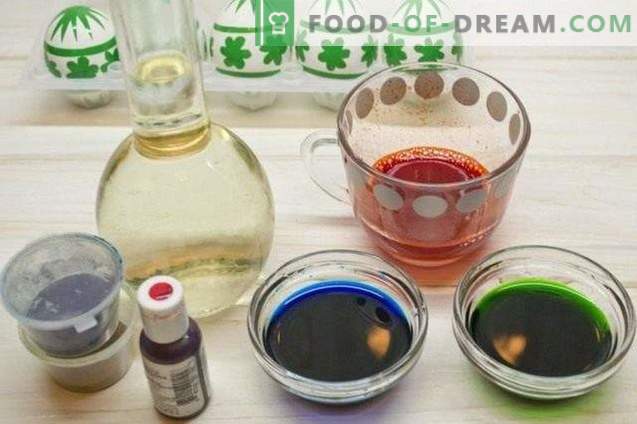
Pour 100 g of cold water into cups, add 10 ml of vinegar. Add paint. The concentration of the solution should be very saturated, mix thoroughly until the grains are completely dissolved.
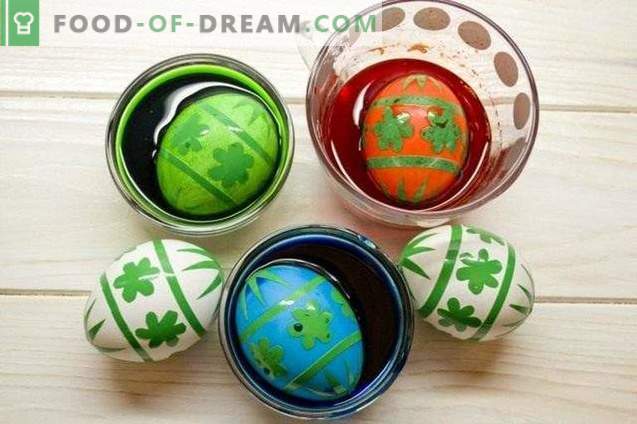
We put eggs covered with film in cups with colored solution for 20 minutes, sometimes we turn it so that the coloring occurs evenly.
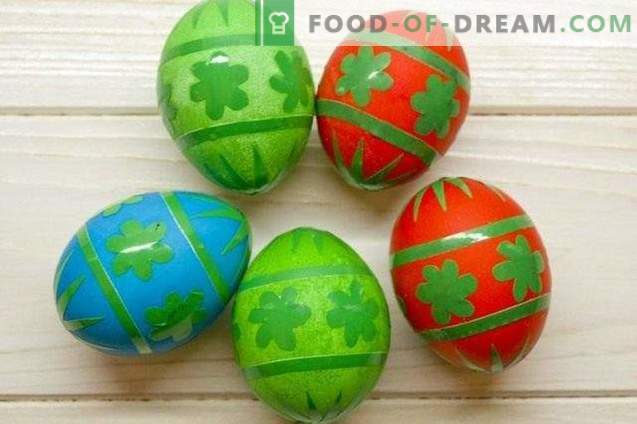
We spread on a piece of waste fabric so that the dye is dry. Drying must be natural, otherwise part of the color can be erased.
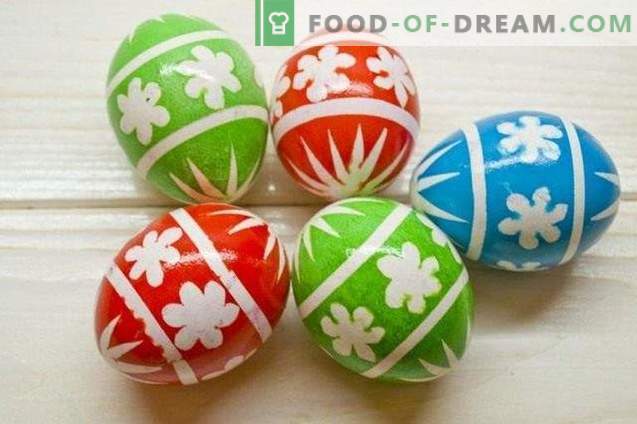
Carefully remove the stripes and flowers. The dye will leak under the film, no matter how tightly you stick it, since the surface of the eggshell is not perfectly smooth, so small stains will always remain on the white parts of the picture.
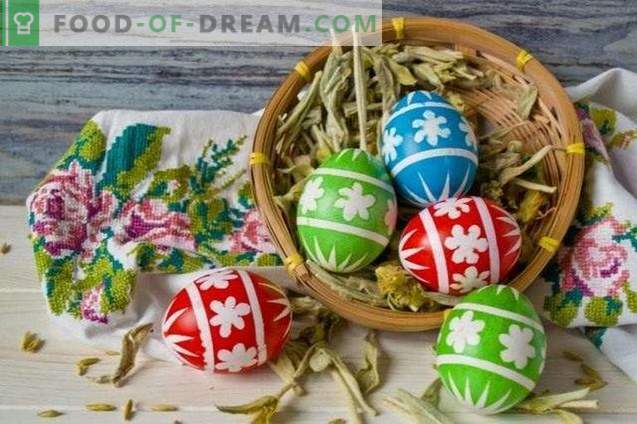
For shine, lubricate the shell with a drop of vegetable oil. Everything. You can celebrate!
